Tuya on ROBOMOW RX12u
Making a lawnmower (or any household appliance in general) domotizable
Many objects available at home do not connect to the internet. This is no longer a problem by using Tuya switch boards which can be found on Chinese e-commerce sites with the following search words “Tuya RF 433mhz WIFI switch module AC/DC 7-32V 1/2/4 channel relay Wireless Smart Life APP remote control Alexa Google Home” and which allow you to control 1 to 4 buttons/switches.
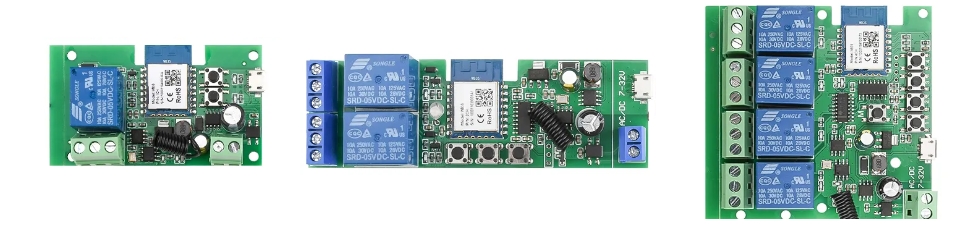
On this page I used a two-channel board (switches) powered at low voltage (7-32V) to operate a Robomow RX12U robotic lawnmower, which cannot be controlled via an app like the RX20U model.
The result was to obtain a machine that can be controlled remotely via Tuya.
Material needed:
- Board Tuya WIFI AC/DC 7-32V 2 canali relè
- Dupont jumper wires
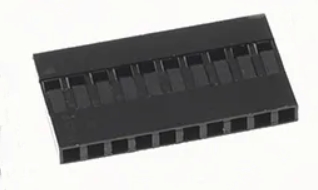
- 10-pin shells for Dupont jumpers
- Tin, soldering iron
Wiring diagram used for the Robomow RX12u
To automate the Robomow RX12U we must follow the following wiring diagram. In the implementation, the switches will be replaced with the relays of the board.

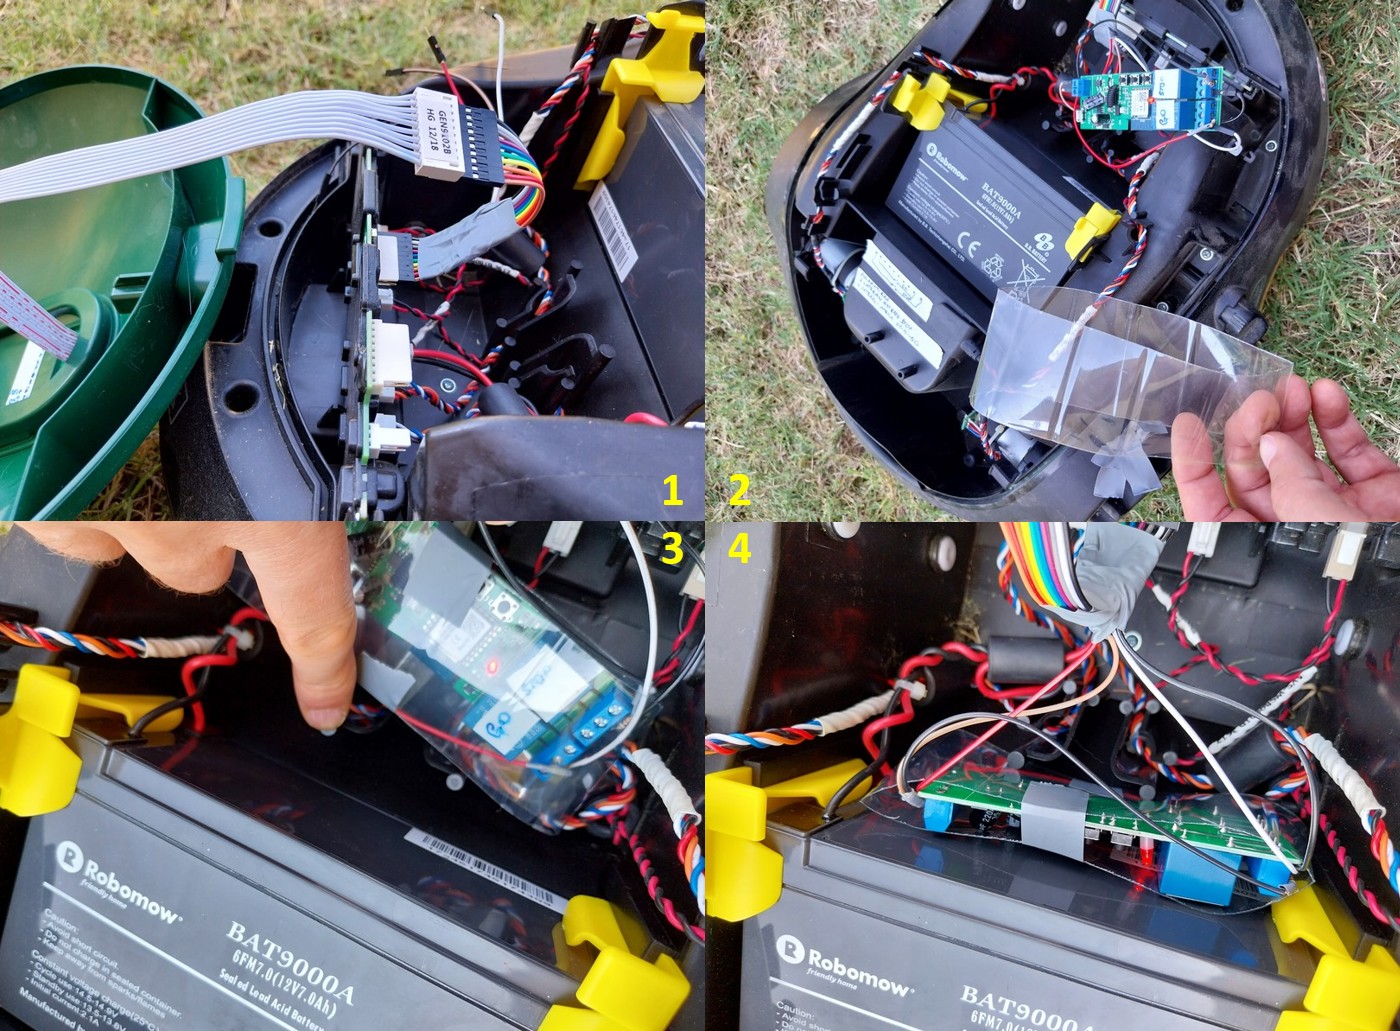
To go from the scheme to the realization, the following photos may be useful.
To go from the scheme to the realization, the following photos may be useful.
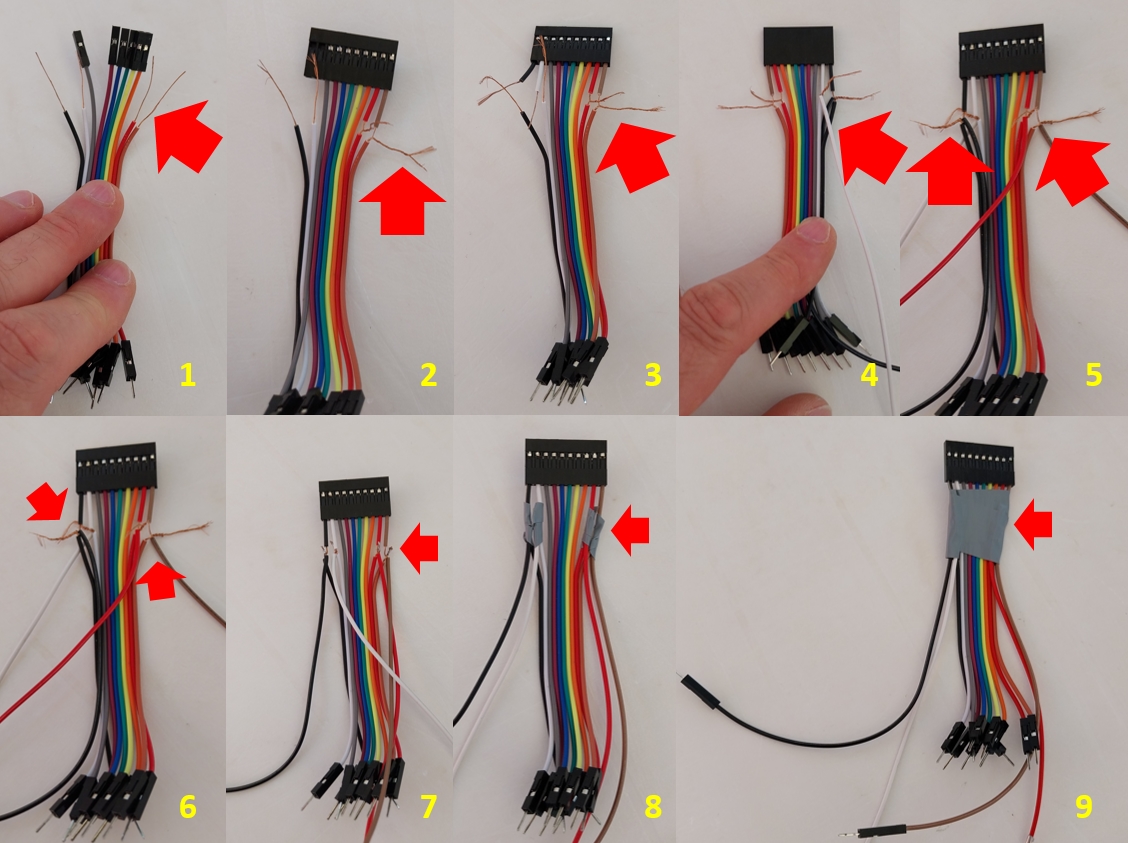
Note in photo number 2 the replacement of the Dupont pin shells with a single 10-pin shell. Very useful to facilitate the creation and installation on the robot.
Connections
How to assemble the cable with the board can be deduced from the following photos. Connect the 10K resistors to the central contacts of the relay and the other terminal with a piece of red and black colored wire as in figure 1. Connect the colored pieces of wire to the power supply of the board figure 3. The board is in turn powered by the brown and red wire of the built cable. Now connect the black and white wire of the built-in cable to the relay (figure 5) so that the white is on the relay with the resistance attached to the red wire and the black corresponds to the resistance of the black wire. Using 10K resistor may seem superfluous. However, I inserted it to limit the currents involved and therefore safeguard the Robomow mower from possible breakdowns.

Installation in Robomow RX12u
For installation, simply follow the following photos. The cable is assembled as in figure 1. The red wire must correspond to wire nine stamped on the robot cable. If it is not numbered, it is possible to find it with a tester by identifying which of the two side contacts contains approximately 13 volts from the battery. In figure 2 an insulating band made from a plastic bottle to be placed around the board. In figure 3 the index finger shows where to insert our card. In figure 4 the inserted card.
App Tuya on smartphone
On the screen below the Tuya application on your phone. The details of how to add the card to the Tuya app are available on the net and with the instructions of the card to which I refer you.
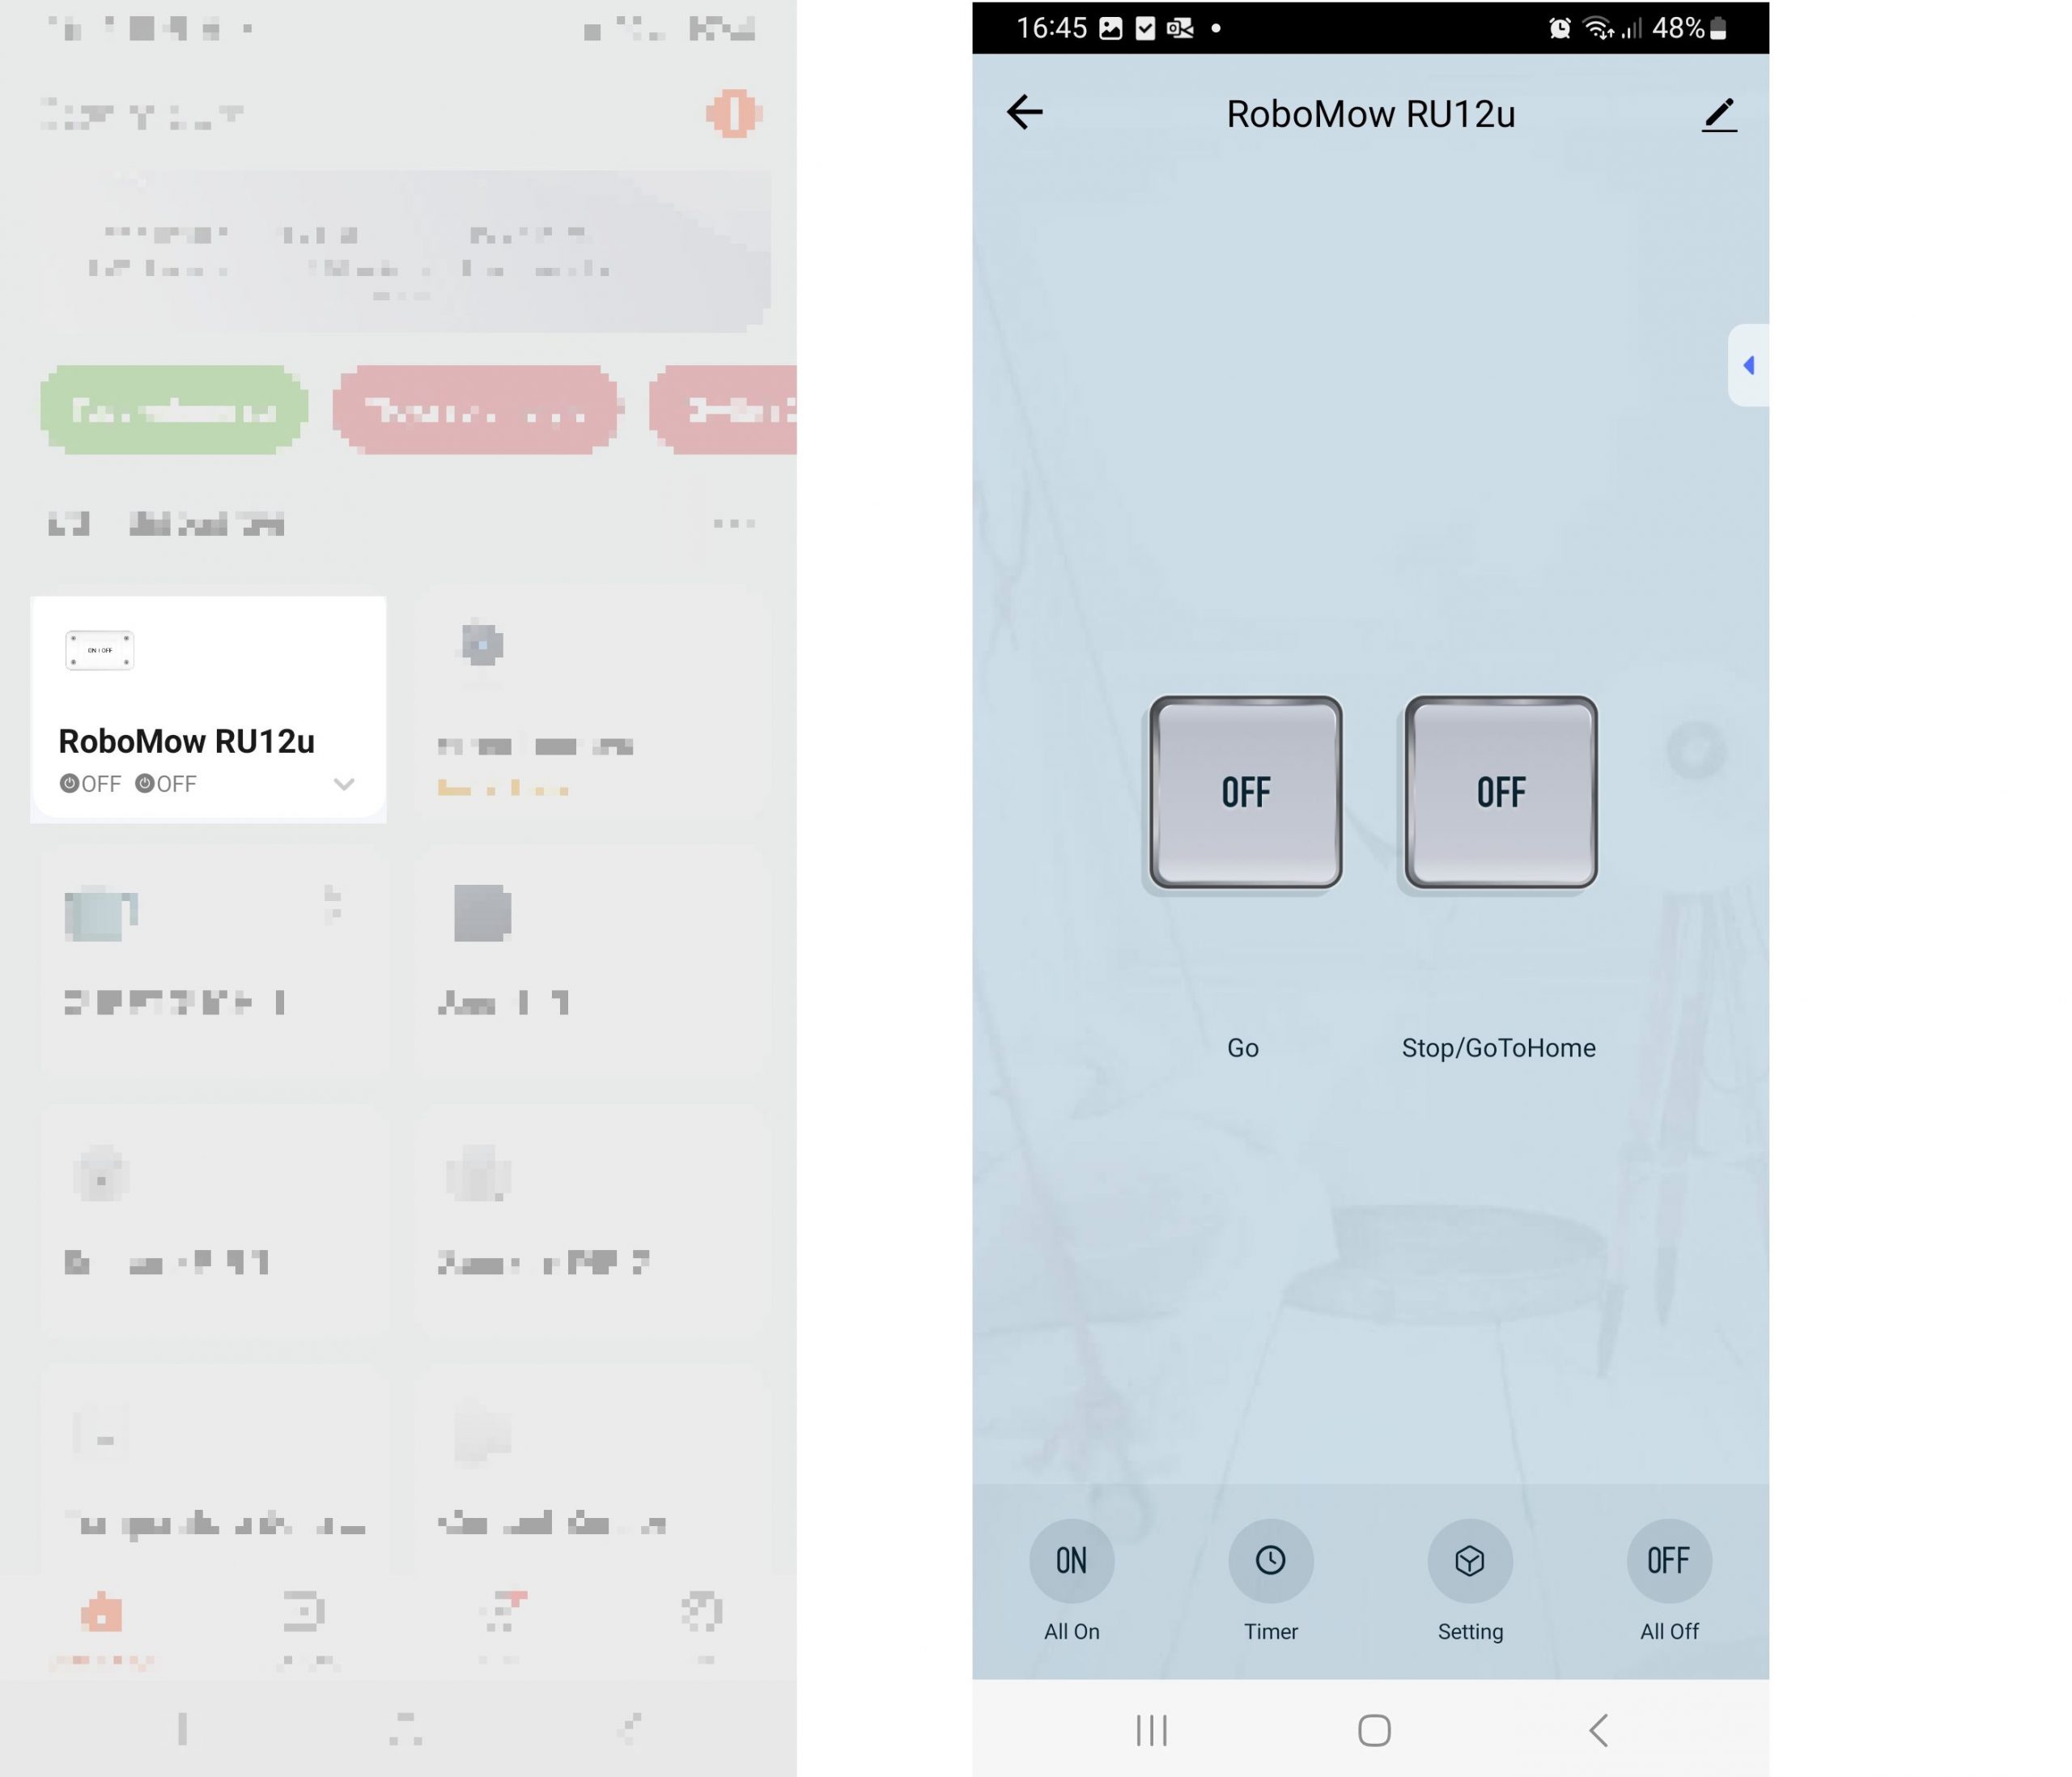
The beauty of the project is that you didn’t have to write a dedicated program. It’s all configurable in the app and the total cost to acquire the relay card and the Dupont jumpers was around 10 euros.